CentOS 8.0.1905 服务器上初始安装没有安装图形化桌面环境,现在需要对该服务器安装图形桌面化环境和安装TigerVNC,并在本地(windows平台)使用VNC客户端进行远程桌面连接
环境说明
- Microsoft Windows 10 Pro 21H2
- VMware® Workstation 15.0.0
- OS: CentOS Linux 8
- IMG: CentOS-8-x86_64-1905-dvd1.iso
- Xvnc TigerVNC 1.11.0 - built Jul 21 2021 11:25:16
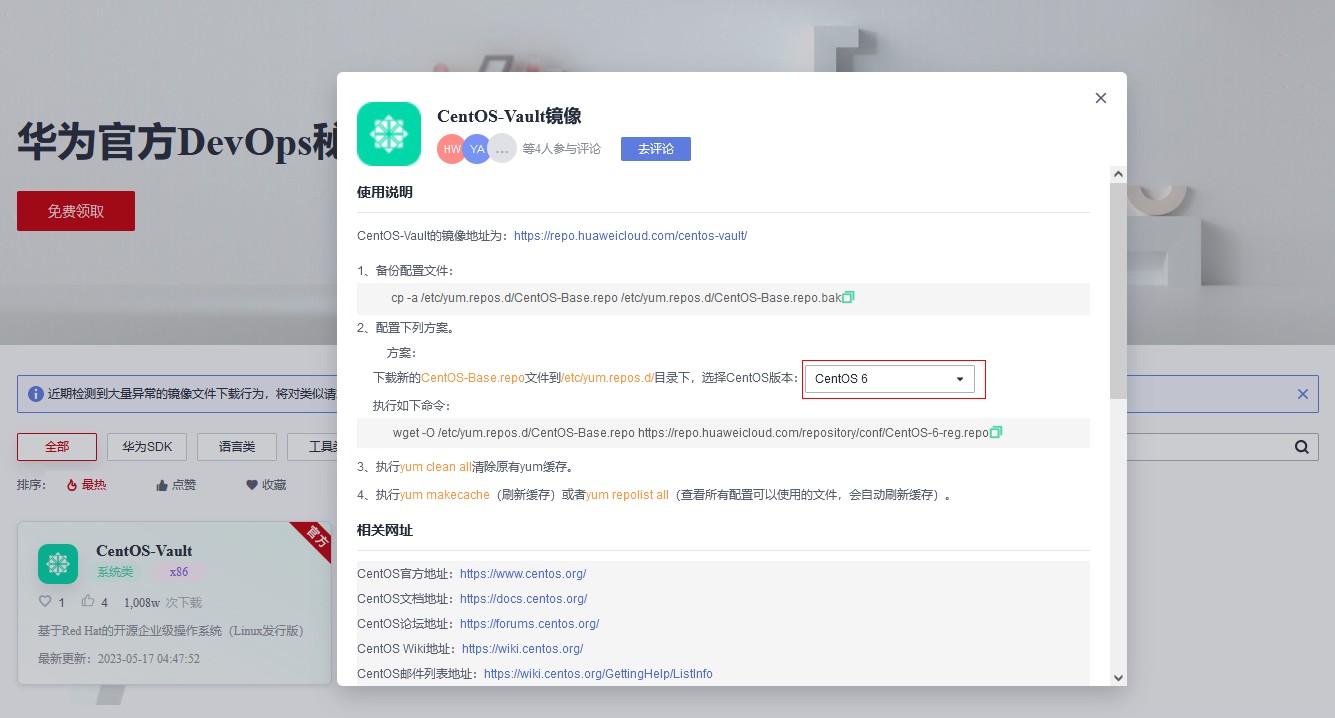
使用华为云CentOS-Vault
现在 CentOS 8(非 Stream 版本)已被官方移除出该仓库。需要使用centos-vault镜像
先浏览官网链接,查看使用说明
官网链接: https://mirrors.huaweicloud.com/home
备份/etc/yum.repos.d 目录下的文件
[root@centos-106 yum.repos.d]# cp -a /etc/yum.repos.d/CentOS-Base.repo /etc/yum.repos.d/CentOS-Base.repo.bak
或
# 创建备份目录
[root@centos-106 yum.repos.d]# mkdir repo_back
# 移动 *.repo 到 back_repo 目录
[root@centos-106 yum.repos.d]# mv *.repo back_repo/
配置华为云CentOS-Vault yum源
[root@centos-106 yum.repos.d]# wget -O /etc/yum.repos.d/CentOS-Base.repo https://repo.huaweicloud.com/repository/conf/CentOS-8-reg.repo
--2023-05-17 12:12:00--  https://repo.huaweicloud.com/repository/conf/CentOS-8-reg.repo
Resolving repo.huaweicloud.com (repo.huaweicloud.com)... 58.59.128.100, 58.59.128.102, 58.59.128.99
Connecting to repo.huaweicloud.com (repo.huaweicloud.com)|58.59.128.100|:443... connected.
HTTP request sent, awaiting response... 200 OK
Length: 2218 (2.2K) [application/octet-stream]
Saving to: ‘/etc/yum.repos.d/CentOS-Base.repo’

/etc/yum.repos.d/CentOS-Base.repo   100%[================================================================>]   2.17K  --.-KB/s    in 0s

2023-05-17 12:12:01 (33.0 MB/s) - ‘/etc/yum.repos.d/CentOS-Base.repo’ saved [2218/2218]
执行yum clean all清除原有yum缓存。
执行yum makecache(刷新缓存)或者yum repolist all(查看所有配置可以使用的文件,会自动刷新缓存)
[root@centos-106 yum.repos.d]# yum clean all
7 files removed
[root@centos-106 yum.repos.d]# yum makecache
CentOS-8 - AppStream - repo.huaweicloud.com                                                                  3.9 MB/s | 8.4 MB     00:02
CentOS-8 - Base - repo.huaweicloud.com                                                                       2.7 MB/s | 4.6 MB     00:01
CentOS-8 - PowerTools - repo.huaweicloud.com                                                                 1.6 MB/s | 2.3 MB     00:01
CentOS-8 - Extras - repo.huaweicloud.com                                                                     4.9 kB/s |  10 kB     00:02
Metadata cache created.
安装配置图形桌面环境
关闭SELINUX,后面配置完成再启用
[root@centos-106 selinux]# nano /etc/selinux/config
将SELINUX设置为disabled
……
SELINUX=disabled
……
reboot重启
查看防火墙状态
[root@centos-106 ~]# sestatus
SELinux status:                 disabled
安装图形化桌面环境
[root@centos-106 yum.repos.d]# dnf groupinstall "Server with GUI" -y
……
……
……
Complete!
[root@centos-106 yum.repos.d]#
设置图形界面为默认运行级别
systemctl set-default graphical.target
启动图形界面
systemctl start graphical.target
重启
reboot
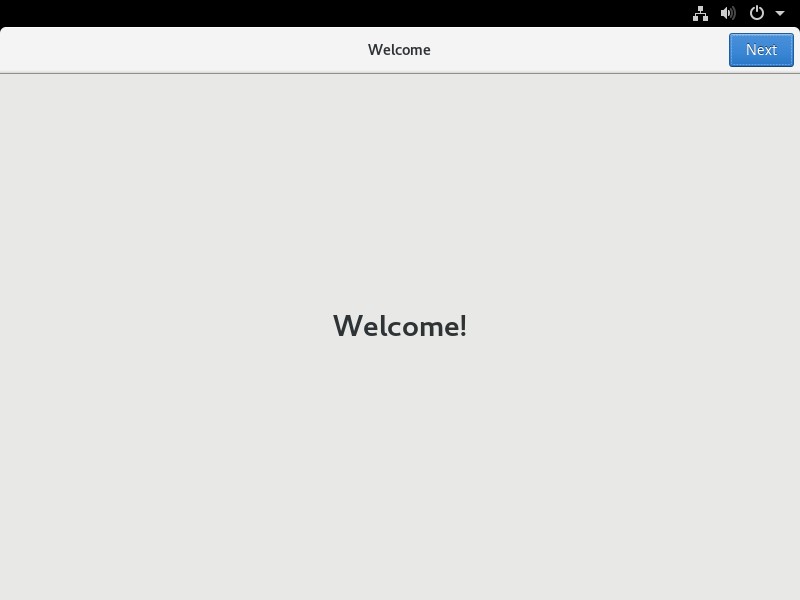
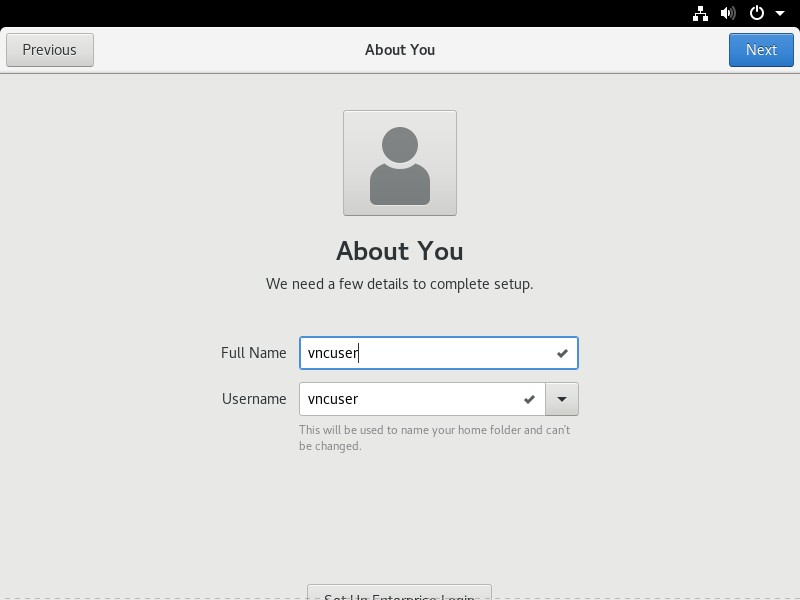
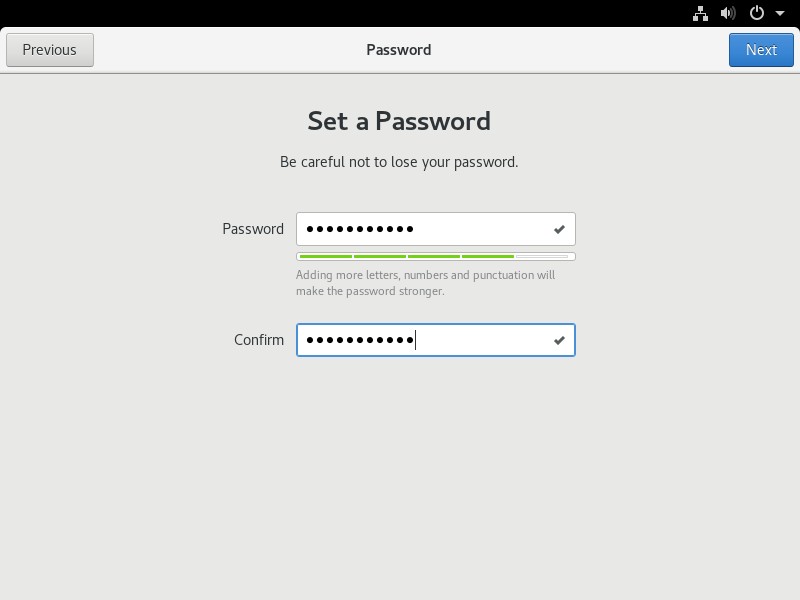
向导设置
重启后会看到图形化界面的一个向导,前面的基本点next(定位服务可关),最后几步有个新建用户的步骤,建立一个用户给下一步骤中的 VNC Server服务 使用(不一定非使用vncuser这个名称)
安装 VNC Server 服务
安装 TigerVNC
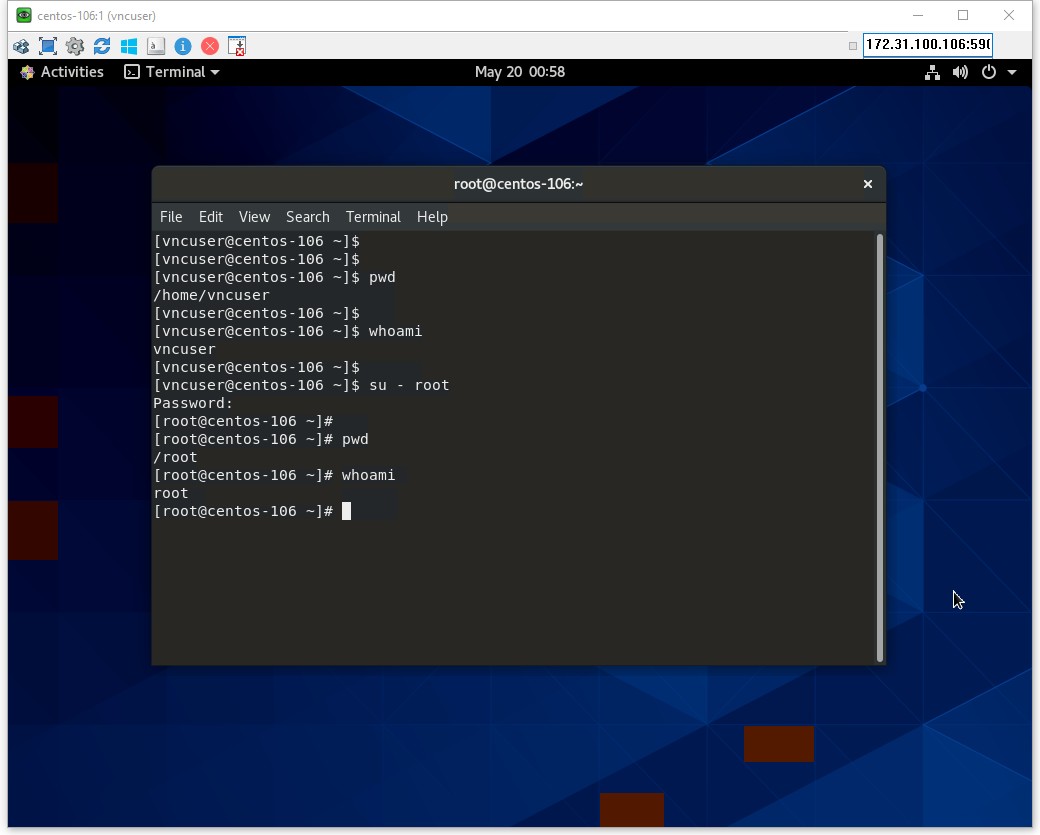
以 root 用户身份运行以下命令,基本都使用root用户权限操作(提示权限不足要在命令前加 sudo 很烦),需要切换vncuser用户会说明
[root@centos-106 ~]#  dnf install tigervnc-server -y
……
……
Installed:
  tigervnc-selinux-1.11.0-9.el8.noarch                       tigervnc-server-1.11.0-9.el8.x86_64

Complete!
[root@centos-106 ~]#
创建 vnc 用户并设置密码(前面已创建可跳过)
如不想使用在上一步骤建立的用户,可在这一步骤中新建用户
[root@centos-106 ~]# useradd vnc_user
[root@centos-106 ~]# passwd vnc_user
Changing password for user uservnc.
New password:
Retype new password:
passwd: all authentication tokens updated successfully.
[root@centos-106 ~]#
拷贝 vncserver@.service 文件
创建/etc/systemd/system/vncserver@.service 配置文件。要创建这个文件,从/usr/lib/systemd/system/vncserver@.service 复制
[root@centos-106 ~]# ~]# cp /usr/lib/systemd/system/vncserver@.service /etc/systemd/system/vncserver@.service
不需要在文件名中包含显示号,因为 systemd 会自动根据需要 在内存中创建适当的命名实例,将服务文件中的 '%i' 替换为显示号。对于单个用户,无需重命名该文件。
VNC 桌面的默认大小为 1024x768。
可以使用
~/.vnc/config文件进一步配置用户的 VNC 会话。例如,要更改 VNC 窗口大小,请添加以下行:
geometry=
x
在 /etc/tigervnc/vncserver.users 中为端口1配置用户 vncuser(即:1=vncuser)
[root@centos-106 system]# nano /etc/tigervnc/vncserver.users

添加:
:1=vncuser
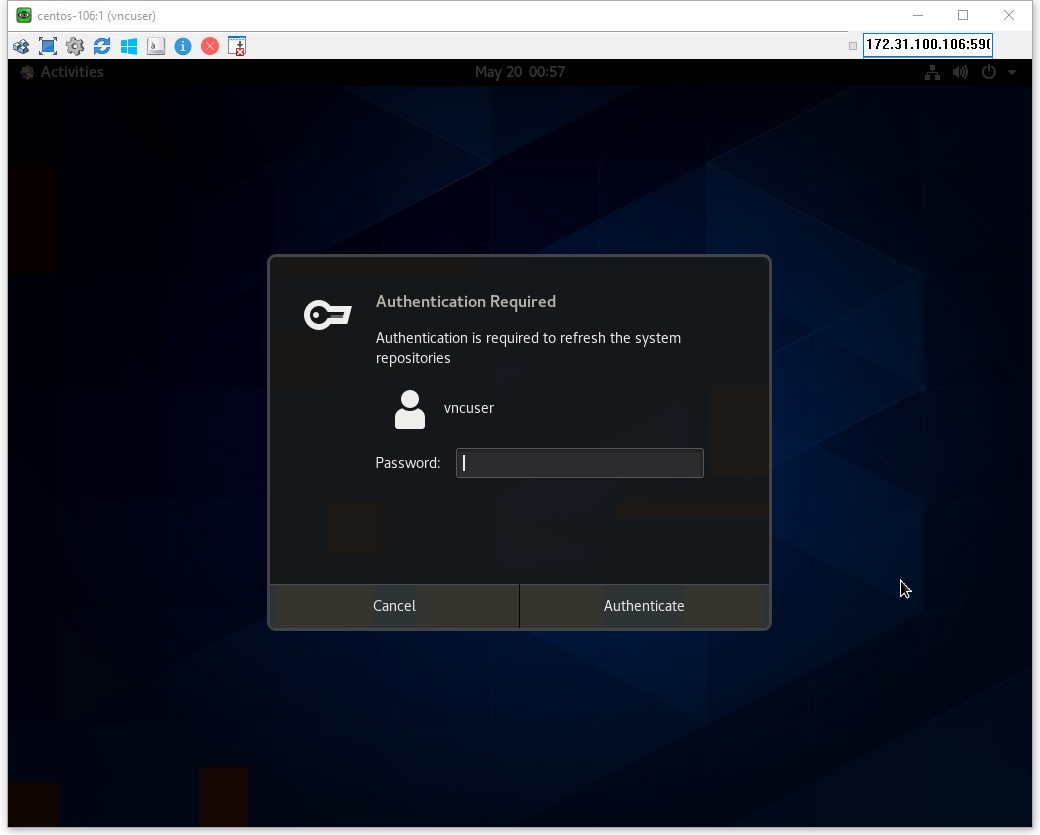
从 root 切换到 vncuser,配置文件中定义的用户的连接密码
这一步骤中需要设置一个连接密码(最长八个字符,多出的字符会被切掉);在view-only password (y/n)? 选 n;选y只能查看不能输入
[root@centos-106 ~]# su - vncuser
[vncuser@centos-106 ~]$ vncpasswd
Password:
Verify:
Would you like to enter a view-only password (y/n)? n
A view-only password is not used
[vncuser@centos-106 ~]$ exit
查看 5901 端口 VNC server 的监听状态
lsof -i :5901 或 netstat -tulpn | grep 5901
[vncuser@centos-106 ~]$ lsof -i :5901
COMMAND  PID    USER   FD   TYPE DEVICE SIZE/OFF NODE NAME
Xvnc    2385 vncuser    6u  IPv4  46911      0t0  TCP *:5901 (LISTEN)
Xvnc    2385 vncuser    7u  IPv6  46912      0t0  TCP *:5901 (LISTEN)
[vncuser@centos-106 ~]$ netstat -tulpn | grep 5901
(Not all processes could be identified, non-owned process info
 will not be shown, you would have to be root to see it all.)
tcp        0      0 0.0.0.0:5901            0.0.0.0:*               LISTEN      2385/Xvnc
tcp6       0      0 :::5901                 :::*                    LISTEN      2385/Xvnc
配置防火墙,开放 5901 端口:
[root@centos-106 ~]# firewall-cmd --permanent --zone=public --add-port=5901/tcp
success
[root@centos-106 ~]# firewall-cmd --reload
success
[root@centos-106 ~]#
启动服务
# 重新加载systemd守护程序配置
systemctl daemon-reload
# 将VNC服务器服务vncserver@:1.service设置为开机自启动
systemctl enable vncserver@:1.service
# 将VNC服务器服务vncserver@:1.service启动
systemctl start vncserver@:1.service
#
# 在终端上输出有关VNC服务器服务vncserver@:1.service的当前状态信息
systemctl status vncserver@:1.service
#
本地使用 VNC 客户端进行远程桌面连接
VNC客户端的选择有很多,例如以下用到的UltraVNC Viewer;还有VNC Viewer、MobaXterm,任君选择
打开软件,输入 服务器地址:端口号 ,点击 Connect

输入连接密码,点击 Log On

登陆界面
踩坑
运行 yum update 之后,repo 文件的变化
在配置华为云CentOS-Vault yum源之后,运行yum update,好家伙把/etc/yum.repos.d/目录下*.repo文件给干掉了,又得重复一次配置华为云CentOS-Vault yum源的步骤
[root@centos-106 yum.repos.d]# ll
total 12
-rw-r--r--. 1 root root 2218 May 18 13:03 CentOS-Base.repo
drwxr-xr-x. 2 root root 4096 May 18 12:41 repo_back
drwxr-xr-x. 2 root root 4096 May 18 13:03 repo_back2
运行 vncserver 等旧格式命令的提示
在运行vncserver开头的命令后,会有一行提示如下
WARNING: vncserver has been replaced by a systemd unit and is about to be removed in future releases.
Please read /usr/share/doc/tigervnc/HOWTO.md for more information.
在处理这个步骤耗费了本人非常多的时间,例如启动报错,启动不报错能连接但是黑屏各种问题。最后在CentOS论坛看到一篇帖子,看到提示去找 Red Hat 官网手册才处理好这个问题;顺便说一句搜索引擎各种关于安装VNC Server 的中文资料没一个能用(没标明环境和版本,索骥失败),最终还是去看官网手册;看来少吃别人嚼过的东西
最后
- 参考资料:
- vncserver failed by ShinShin on 2020/11/17 :
https://forums.centos.org/viewtopic.php?f=54&t=76387
- Red Hat Enterprise Linux 7 Deployment, configuration, and administration of RHEL 7 Chapter 13. TigerVNC:
https://access.redhat.com/documentation/en-us/red_hat_enterprise_linux/7/html/system_administrators_guide/ch-tigervnc
- 发现即使指定要求只下载
Server with GUI,但安装时查看到软件包列表还是发现很多包一并安装了,这可能对已有运行服务产生影响,慎重使用,起码懂得回退的操作 - 现在服务器操作系统一般都上虚拟化了,操作这些安装升级的时候要记得做个快照,备份之类的
- 如有需要玩这个的话,强烈建议先在虚拟机多轮测试再去实际操作,多建立快照
- 配置完成后别忘了开防火墙策略SELINUX=enforcing,重开SELINUX真耗时间
- 业余选手,勿喷
- 欢迎“
来电”来函探讨