Ubuntu服务端采用publickey方式验证客户端身份,客户端本地vscode连接至Ubuntu服务端进行python远程调试
环境描述:
- vscode 1.77.3
- VMware Station 15.0
- Ubuntu 22.04.1
- Python 3.10.6
本地用户密钥生成
生成安全的密钥
C:\Users\xxx> ssh-keygen -t ed25519根据需要是否修改保存的路径和文件名(可能会与之前生成的密钥同名)
根据需要是否设置passphrase口令(如设置每次验证需要输入该密码)
上传pub文件至服务端
将
.pub公钥文件上传至ubuntu 22.04~/.ssh(/home/kir/.ssh)目录下追加
.pub公钥文件至authorized_keyssudo cat id_ed25519.pub >> authorized_keys重启ssh服务
systemctl restart sshd本地连接测试
ssh kir@172.31.100.213
The authenticity of host '172.31.100.213 (172.31.100.213)' can't be established.
ECDSA key fingerprint is SHA256:xxxxxxx
Are you sure you want to continue connecting (yes/no/[fingerprint])? yes
Warning: Permanently added '172.31.100.213' (ECDSA) to the list of known hosts.
Welcome to Ubuntu 22.04.2 LTS (GNU/Linux 5.15.0-71-generic x86_64)
……
……
……
Last login: Thu Apr 27 14:09:13 2023 from 172.31.100.2
kir@kir:~$
vscode设置
插件——搜索——安装
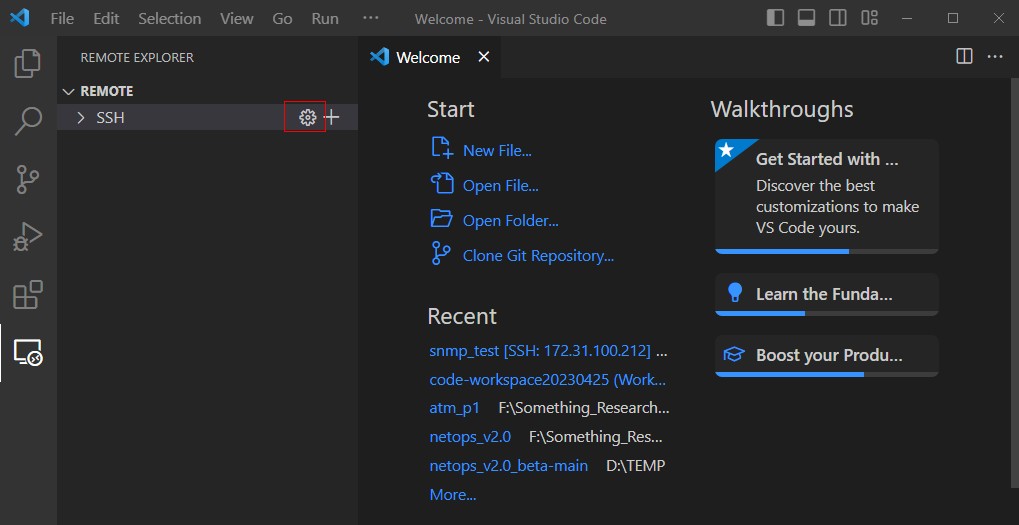
Remote - SSH 插件点击左侧图标,点击REMOTE–设置,弹出的菜单中选择电脑的config文件路径
由于我本机还设置了github和gitlab的公钥,只需在
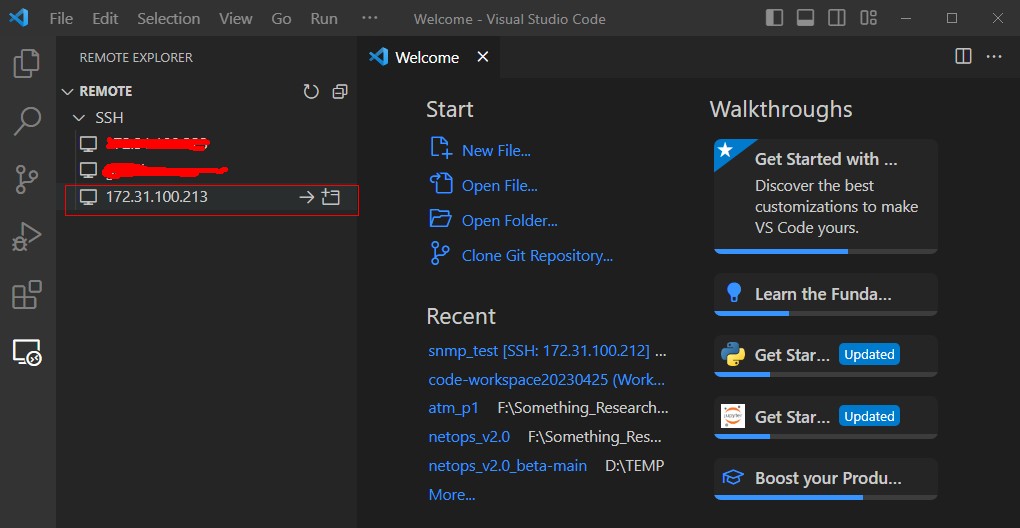
config文件增加对应配置# GitLab Account Host xxx Hostname xxx PreferredAuthentications publickey IdentityFile C:\Users\xxx\.ssh\id_xxx # GitHub Account Host github.com Hostname github.com PreferredAuthentications publickey IdentityFile C:\Users\xxx\.ssh\id_xxx # python_ubuntu_server Host 172.31.100.213 Hostname 172.31.100.213 PreferredAuthentications publickey IdentityFile C:\Users\xxx\.ssh\id_ubuntu选择ubuntu服务器连接(连接前保存工作区或选择在新窗口打开)
登陆后,在控制台手动创建目录,再左侧添加目录
创建目录
kir@kir:~$ sudo mkdir -p ~/my_repo/test_dir设置权限(为了方便,就设777)
kir@kir:~$ sudo chmod 777 ~/my_repo/test_dir

Python插件安装
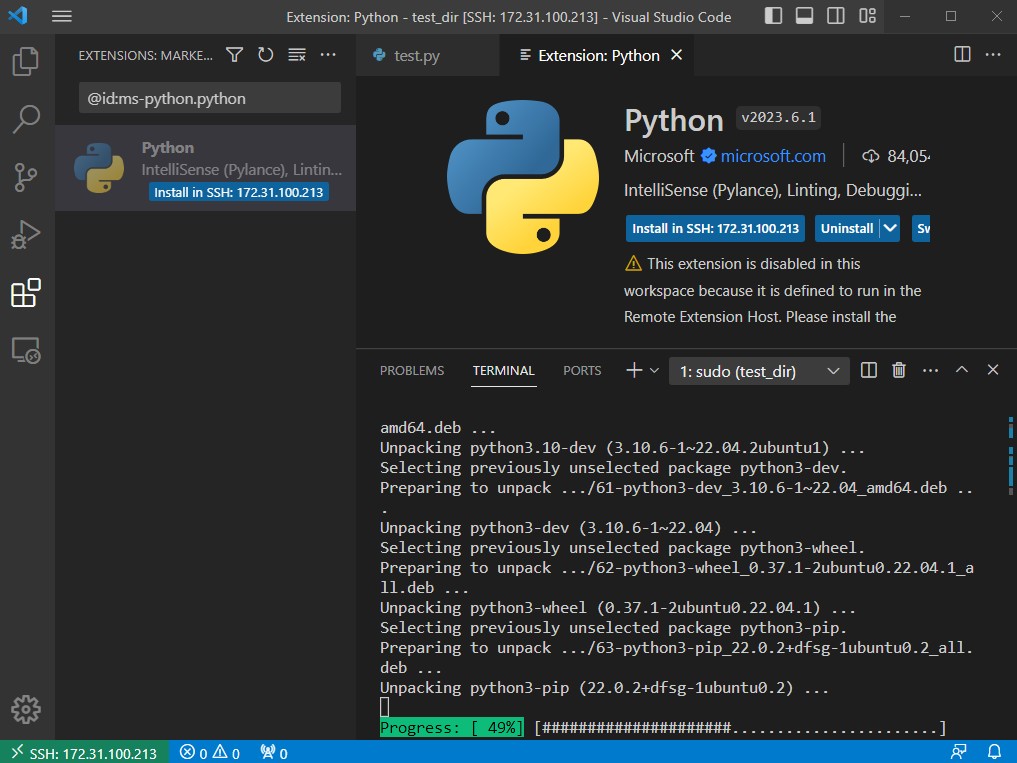
服务端设置
安装pip
sudo apt install python3-pip安装第三方库–测试
kir@kir:~/my_repo/test_dir$ sudo pip install ping3
Collecting ping3
  Downloading ping3-4.0.4-py3-none-any.whl (13 kB)
Installing collected packages: ping3
Successfully installed ping3-4.0.4
WARNING: Running pip as the 'root' user can result in broken permissions and conflicting behaviour with the system package manager. It is recommended to use a virtual environment instead: https://pip.pypa.io/warnings/venv
kir@kir:~/my_repo/test_dir$ pip show ping3
Name: ping3
Version: 4.0.4
Summary: A pure python3 version of ICMP ping implementation using raw socket.
Home-page:
Author:
Author-email: Kyan <kai@kyan001.com>
License: The MIT License (MIT)
……
虚拟环境–测试
# 安装python3.10-venv
kir@kir:~/my_repo/test_dir$ sudo apt install python3.10-venv
# 创建虚拟环境
kir@kir:~/my_repo/test_dir$ source venv/bin/activate
# 退出虚拟环境
(venv) kir@kir:~/my_repo/test_dir$ deactivate
kir@kir:~/my_repo/test_dir$
最后
- 总体来说能用,就是非root用户跑python有可能会遇到权限问题(可能需要sudo)
- 为什么要搞远程python,因为发现在windows平台跑python时不时会遇到一些第三方库安装运行时出的一些不知道时什么不知道的问题
- 欢迎“
来电”来函探讨